


Sub-Total: $0.00
Ceramic Installation - What To Expect
When thinking about types of flooring, it is important to understand the room and its usage before purchasing the flooring material for the room. In many cases, homeowners use tile floors for kitchens and bathrooms. These tiles have many types of stone, ranging from marble to travertine to slate, but they generally fall under the ceramic or porcelain categories. After selecting and purchasing the tiles, the next step is to install them into the room of choice. This page from Jabara’s will seek to provide guidance for the installation process!
To install tile flooring, we can separate the workload into 4 phases:
- Planning
- Setting Up
- Spreading Adhesive, Laying Tiles
- Grouting
Planning and Preparing the Space
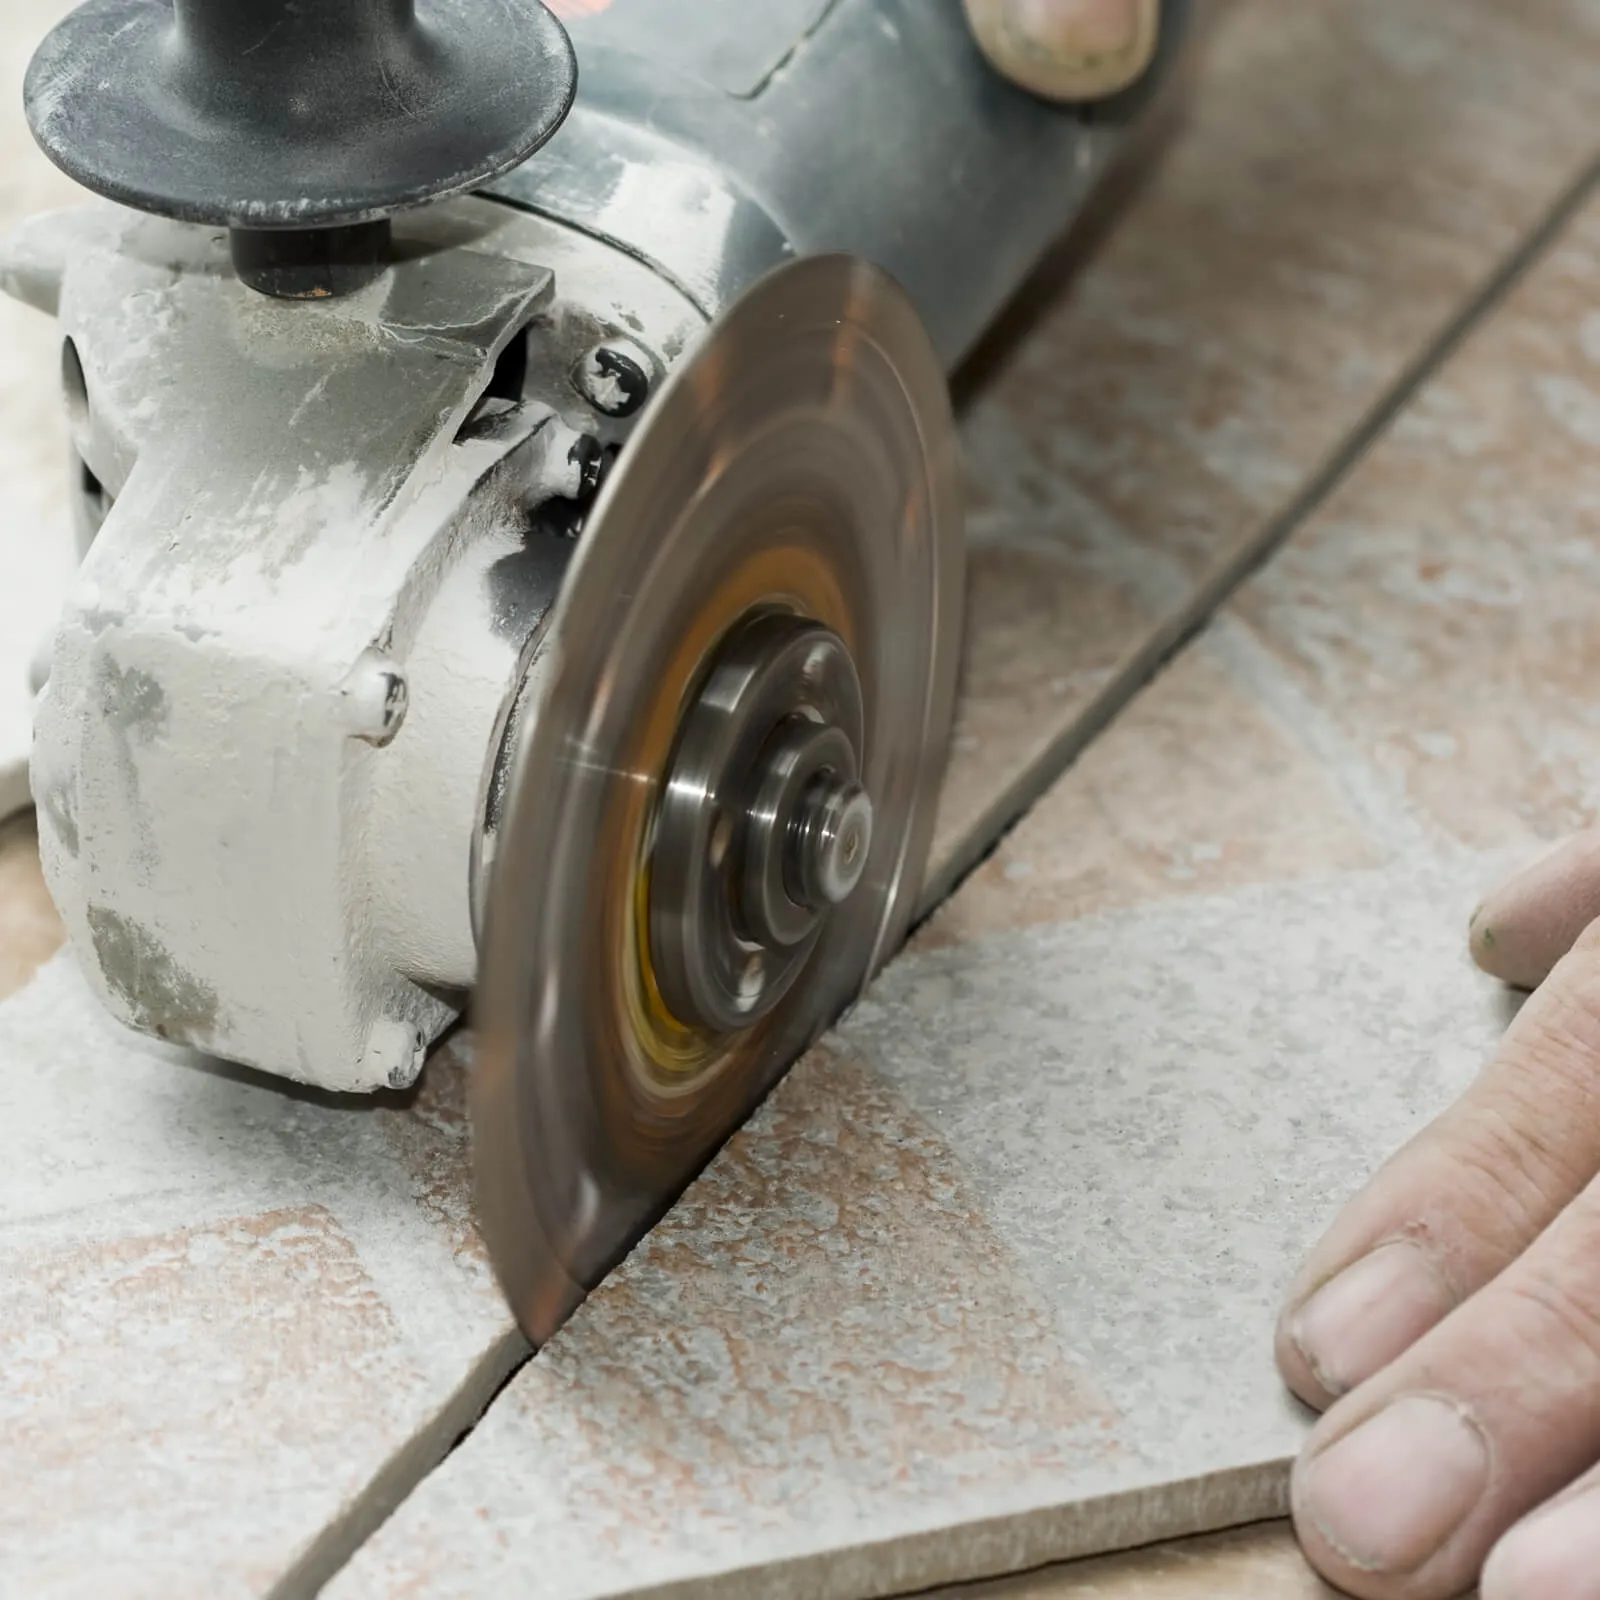
For planning, you have to understand the material of which the existing floor is made. Plywood makes this process easier, but in most cases, you may have to remove the base trim and the particleboard more typically found in flooring. This step is so that you can replace the particle board with plywood. One tool that will help remove the board is a Skil saw.
After replacing the particleboard, you should inspect the space, so it is attached to the floor joists. At this point, the floor is ready for the leveling compound. You will need backerboard made of fiberglass or cement, sized at 3 by 5 feet. This is so that the tile does not pop off.
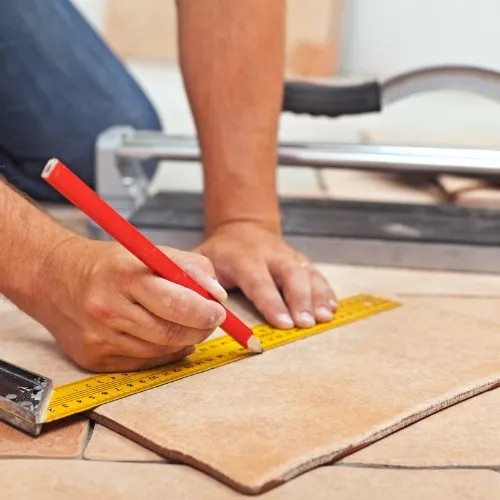
At this point, you should have already measured the room size and distance of opposing walls. These measurements let you know the number of tiles you need to purchase. If not done so already, you can also determine the tile sizes and patterns for the space. You should have 15% more tile than the square footage measured since a lot of the tile becomes cutoffs.
The last step in planning is to make sure that the entire surface is smooth. It is best to use a floor leveling compound to float out any divots, holes, or differences in subflooring height.

Setting Up the Space
Now that planning is done, you will need to find the center point of the room. This can be done by measuring each wall to see the respective distances. Be sure to rehearse laying out the tiles starting at the center point. Place tiles in a straight line towards a wall, leaving a small space between the tiles. Repeat this process as many times as necessary, based on the room layout.
In some cases, you will have to drill holes in the tiles for items such as radiator pipes or bath pipes. Once you’ve rehearsed all the tile placements and finalized measurements, it is ready to lay the adhesive.