


Sub-Total: $0.00
how to install laminate flooring
To pick the right type of flooring for a room, it is important to understand how the room will be used. In many cases, homeowners use laminate floors for bedrooms and kitchens. These laminate planks have various styles that range from wood look to stone look. After picking out and buying the laminate planks, you’ll need to properly install them into the room of choice.
For the laminate flooring installation process, we can separate the workload into 2 phases:
- Preparing the Flooring Area
- Laying Down the Boards

Preparing the Flooring Area
To allow the laminate boards to become acclimated to the room, it is best to place unopened packages in the room for about 48 hours as they adjust to the temperature and humidity. This step helps minimize any shrinkage or expansion that occurs when the boards react to the atmosphere. In this waiting period, check the moisture levels to make sure the floor is dry. The sub-floor moisture content should not be higher than 1% of the Protimeter prong test scale. The humidity level should also be between 45% to 65% relative humidity.
A final checkup is to check that the sub-floor is perfectly level. With these steps confirmed, it is time to clean the floor from any minuscule objects that could be on the surface. Once cleaned, lay down a moisture barrier for the floor. It can be a plastic lining, that will be covered by the laminate. Avoid overlapping, which would cause the floor to rise.
The last step in preparation is laying down the padding. Most padding and plastic come connected together. If yours does not, simply cover the plastic lining with foam flooring padding. The padding will prevent residue from rocks or sand while also preventing creaking sounds when people walk on the floor. Do not let the foam get overlapped.

Laying Down the Boards
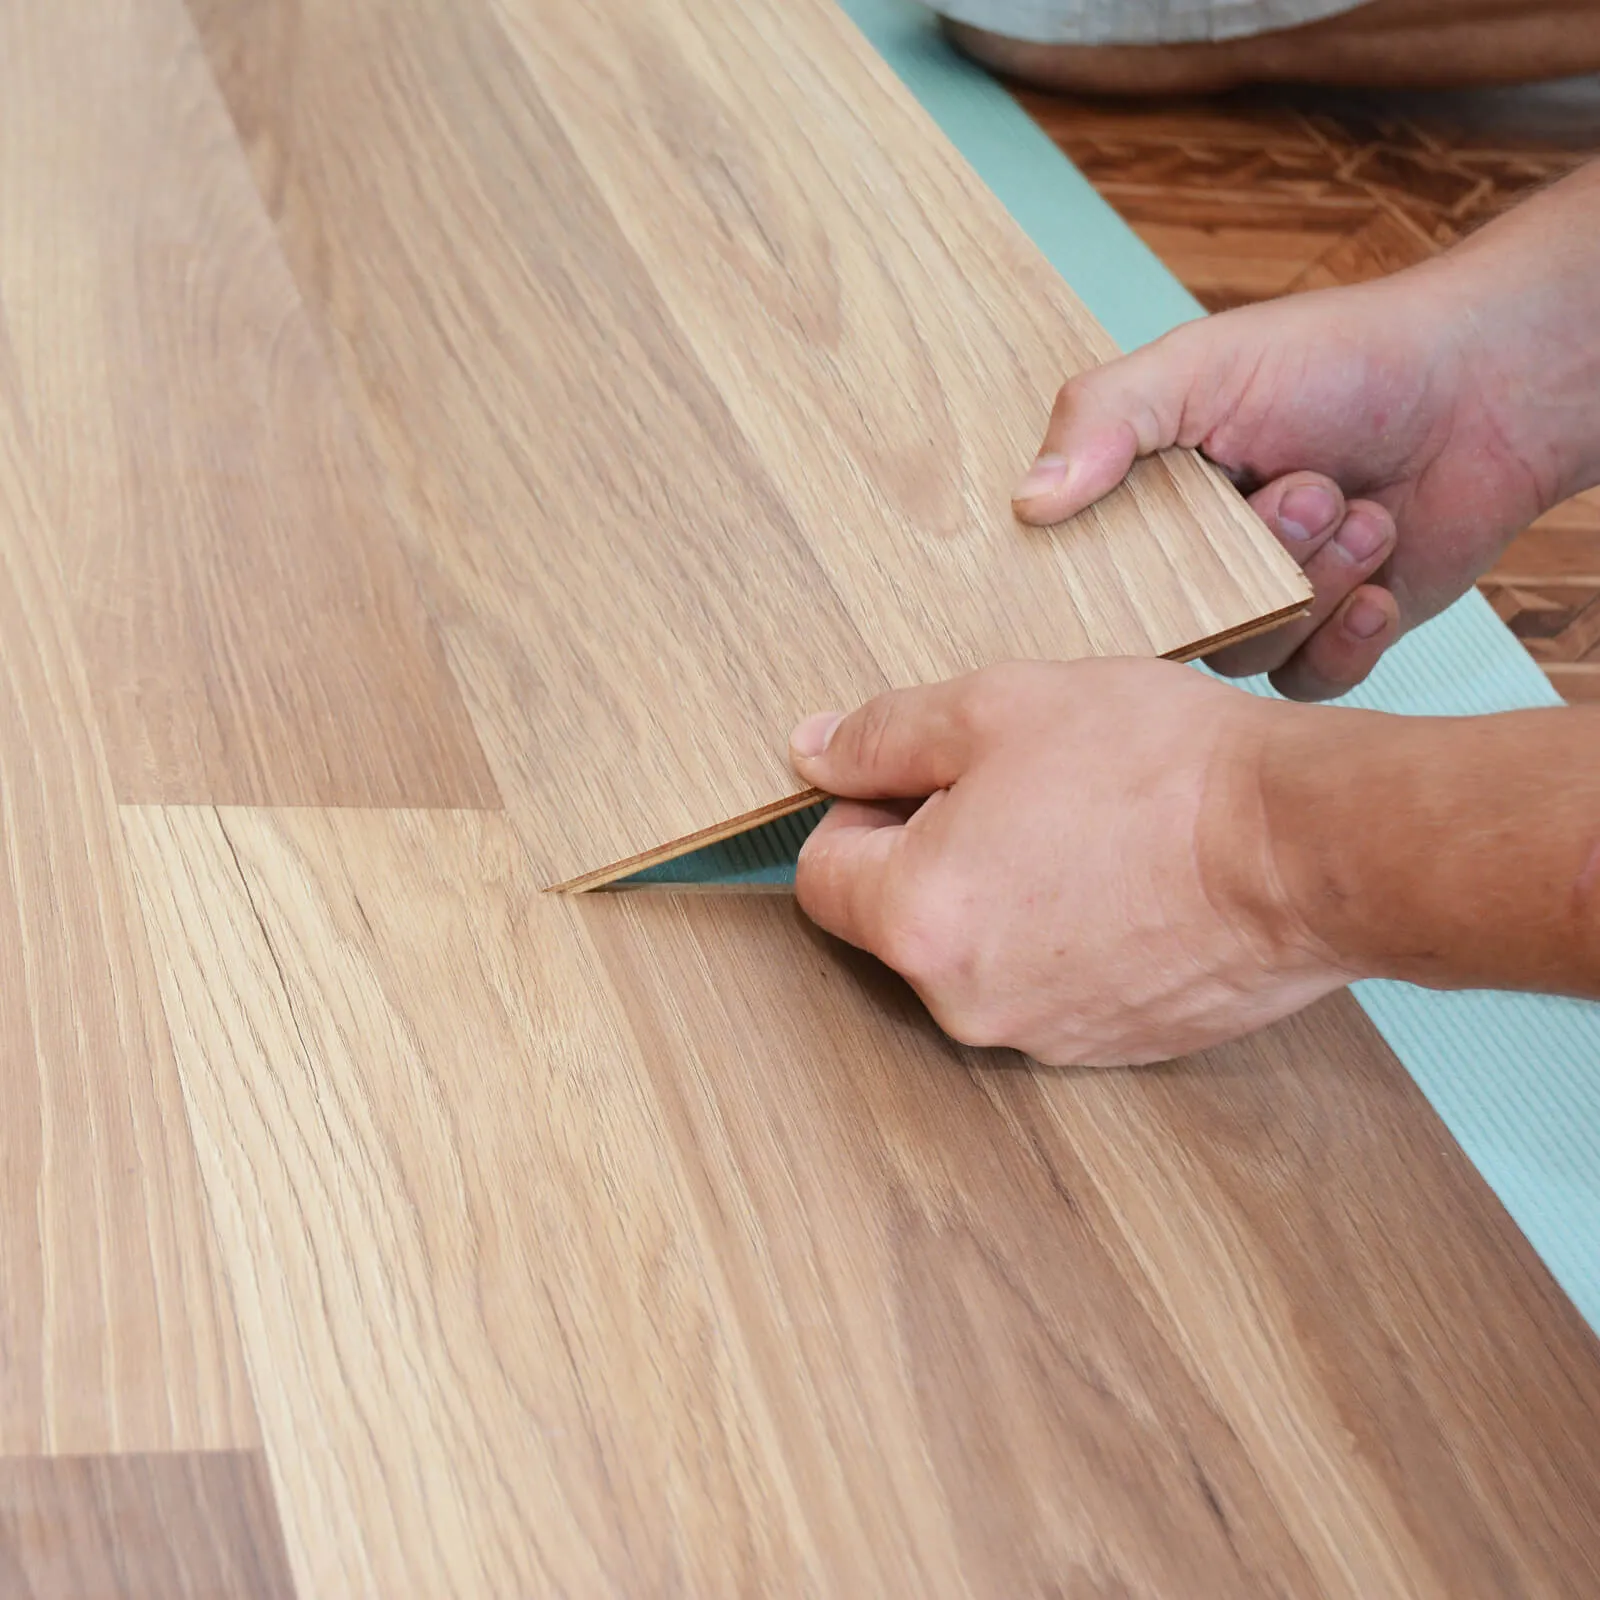
With preparations complete, you can now place the first board onto the floor. After placing it down at the top left corner, make sure it is finished side up with the ridge side facing the wall. Place the spacers between the end and edge of the board and the wall. Spacers can be bought or built on your own. Repeat these steps for the second board, placing it end to end with the next spot along the wall. Confirm that the row is even with the walls.
Once the first row is done, move on to the second row. Shorten the first piece of the laminate flooring board so that this row will be staggered when compared to the first row. With the block secured with your less dominant hand, hit the block with a hammer with the dominant hand so that the gap between the first and second boards close. Continue these steps until each row has
If you'd like to learn more about laminate flooring installation, be sure to call or email us today.