Sub-Total: $0.00
The Best Slip-Resistant Flooring Options for Your Bathroom Remodel
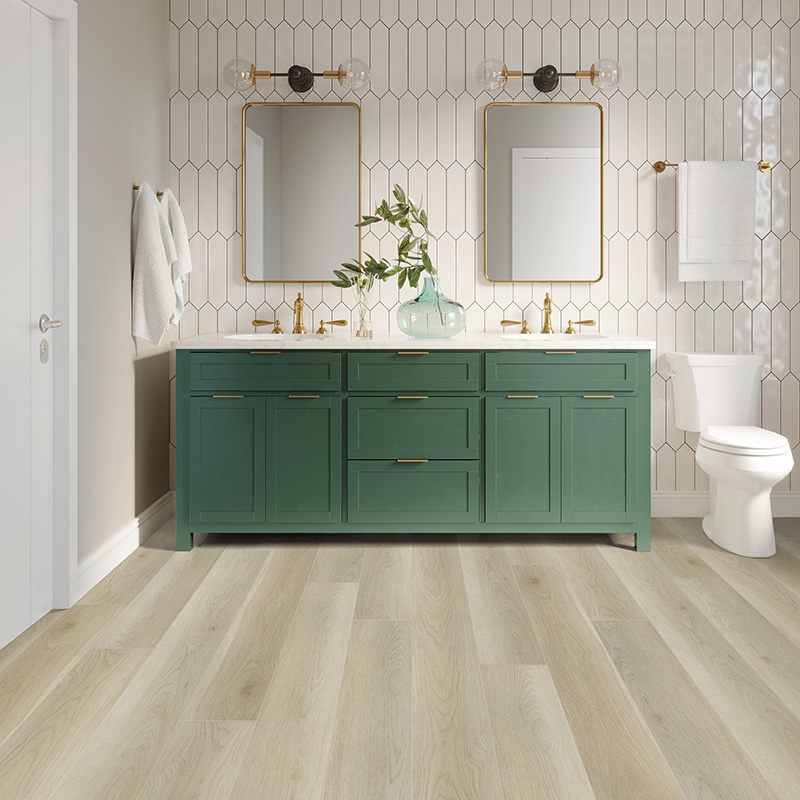
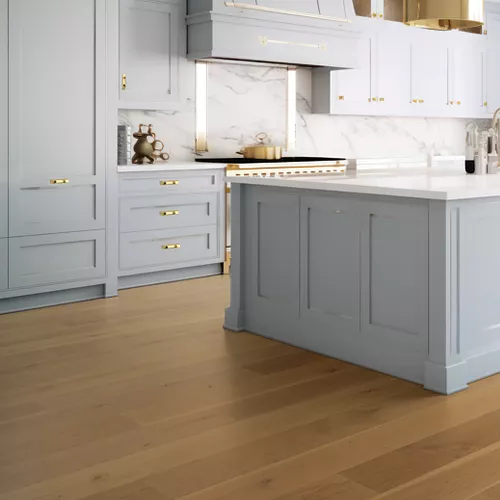
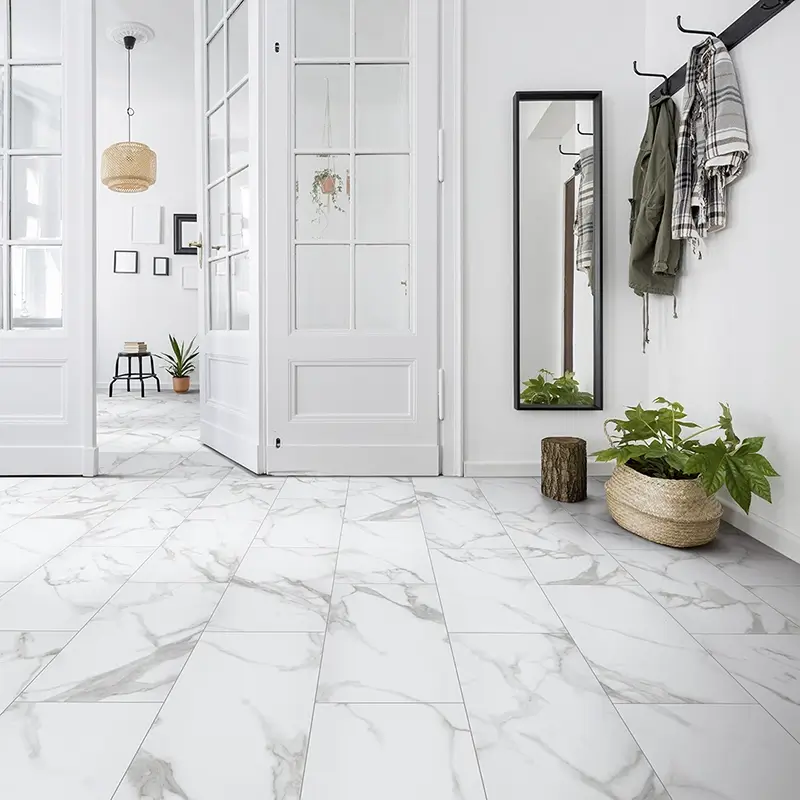
Bathroom remodels are a great way to refresh your space, increase your home’s value, and improve everyday comfort. But while you may be focused on colors, fixtures, and layout, there’s one decision that plays a major role in both style and safety: your bathroom flooring. Wet floors lead to slips…
Read More