Sub-Total: $0.00
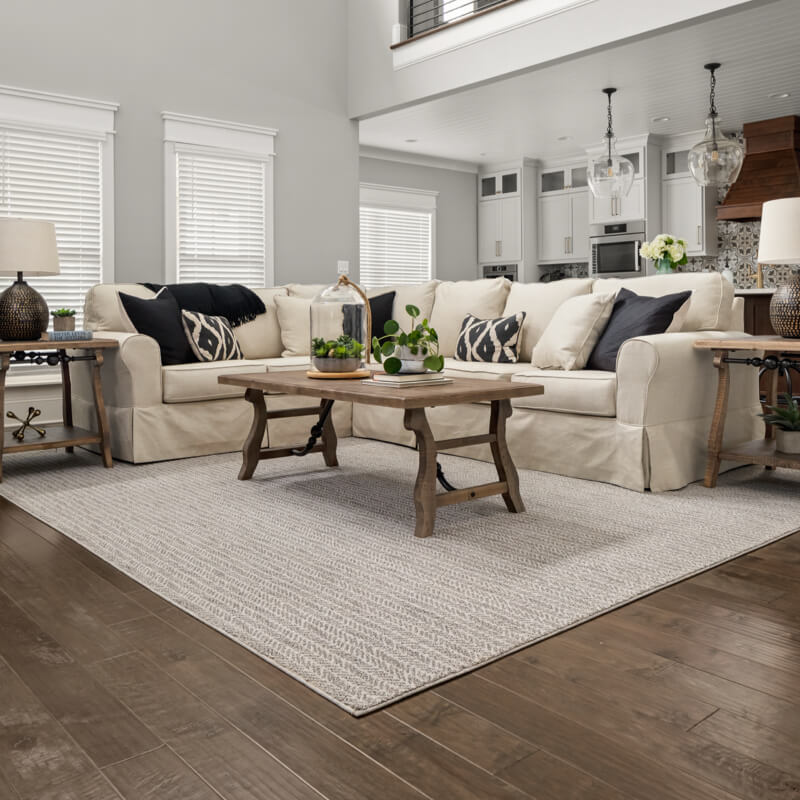
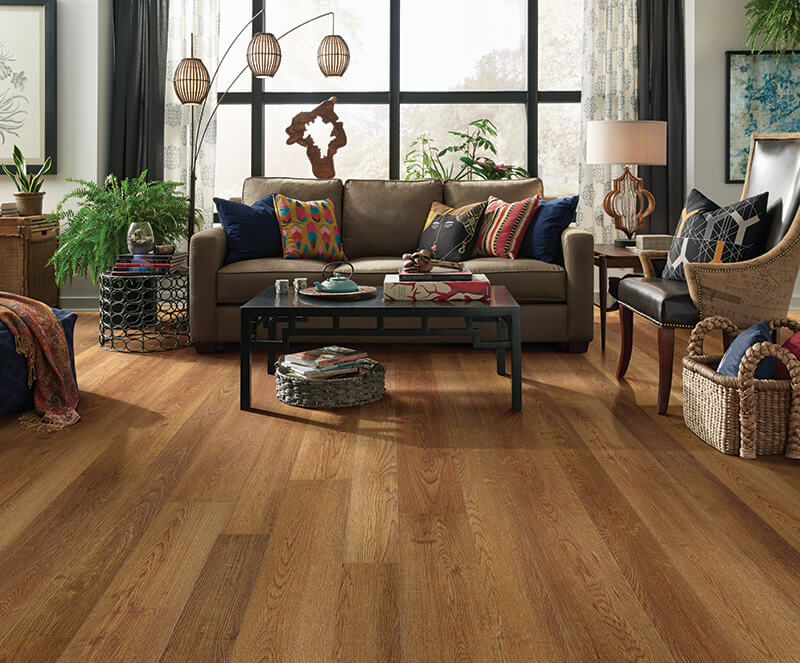
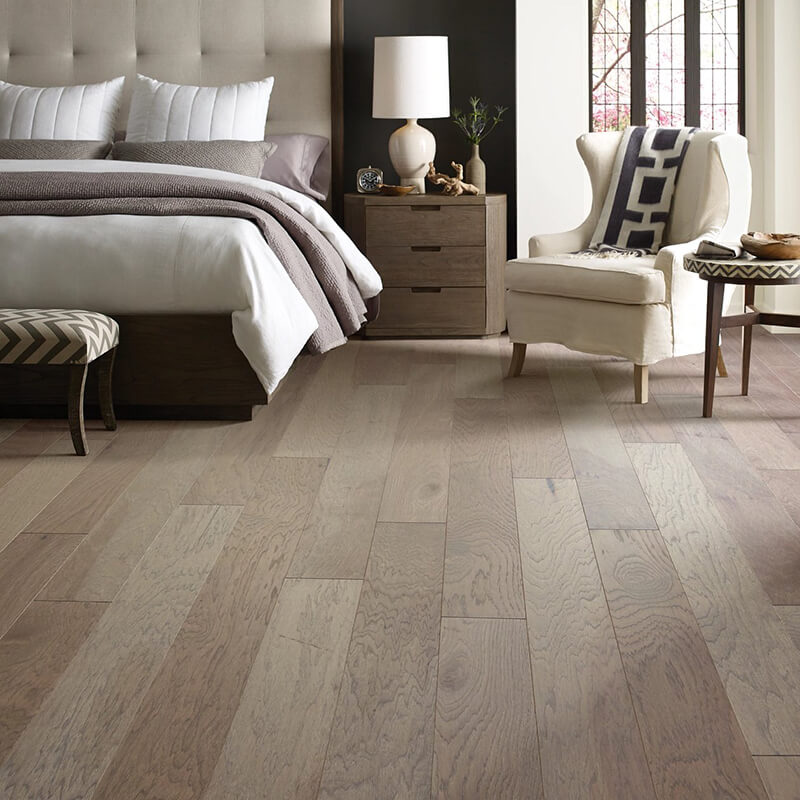
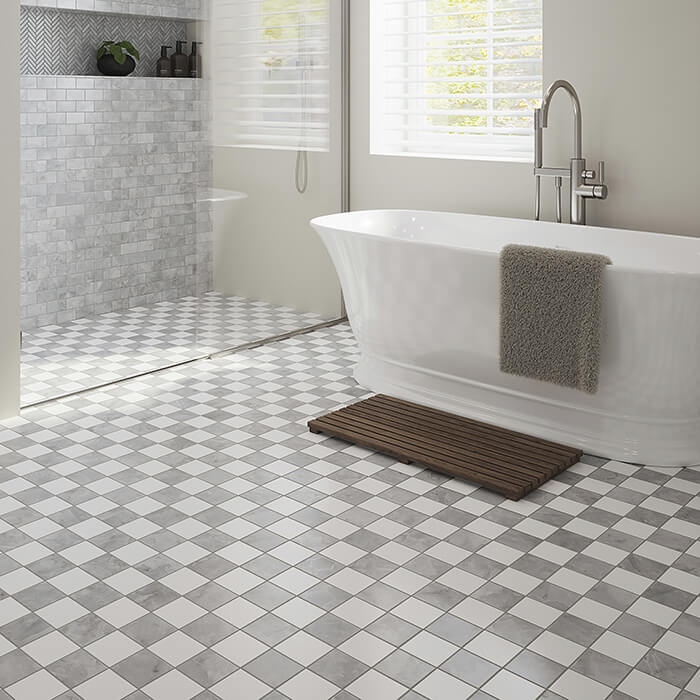
Selecting Flooring for a Healthier Home Environment

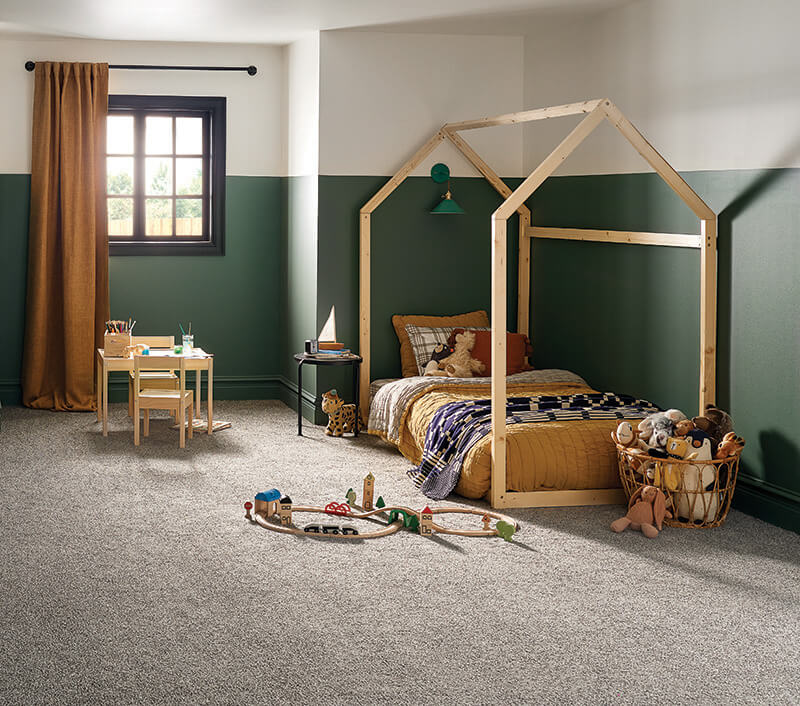
Since flooring is one of the largest surfaces in your home, it has a bigger effect on your indoor air quality than you might think. Dust, dirt particles, pet dander, and other allergens can build up on your floors. Every step stirs them into the air you breathe.Even if allergies…
Read More